How to get Time Series Chart of the room Temperature, Relative Humidity and Humidity Deficit with 3$ sensor "DHT22" and Raspberry Pi without any electronic works nor any programming.
DHT22 (AM2302) temperature & humidity Sensor
Though DHT22 (another name AM2302) sensor is small and low-cost, but have a decent quality of precision of measuring temp/humidity.You can buy the ready to use breakout of DHT22 for 3 - 4$ from eBay
 .
.
Why measure the room humidity as well as temperature
Not only to get comfortable air but also to measure and control humidity has a lot of purposes, for example:
- In high humidity rooms like summer or monsoon season in Japan, where I live in, It often grows the mold everywhere on the wall, clothes, food and so on. The mod can't be active under low relative humidity. I'm controlling my room to keep relative humidity under 60% to block to grows the mold.
The filamentous fungi, which is many of the causes of plant disease, is in the same family of mold, so a lot of plant disease also can avoid by humidity control.
- Some plant is known that they close there pore under hight Humidity Deficit (I'll explain this later) to block loosing there moist and dying. With closing pore, they can't get CO2 in the air and can't grow more. So, in the veritable plant, it's popular to watch Humidity Deficit.
Humidity Deficit is strongly related to the ability of drying. Wet clothes became dry faster in the higher Humidity Deficit room
Humidity Deficit is the difference between the maximum amount of moisture the air can contain and the actual amount of moisture the air contains now. The unit is g/㎥, indicate how much gram of water can be evaporated into the 1㎥ air.
GOAL
Get the following Time Series Chart.

Cabling sensor and Raspberry Pi

The breakout board has 3 Pins, each pinhead is printed as "+", "out", "-".
Connect there with RaspberryPi's GPIO as:
- 3.3V on RPi and "+" on DHT22
- GND(0v) on RPi and "-" on DHT22
- wPi 29 on RPi and "out" on DHT22
Following are an example of cabling, you can free to use other 3.3v and 0v Pin on the RPi.

Connect with an M2.5 size Hex Spacer.
DHT22 can fix well on the Raspberry Pi by M2.5 size Spacer as follow:


In my experience, M2.6 size Spacer is slightly tight, so M2.5 size fits well.
 , Metal Space set also available from
  .
.
Activate a value element on the MONITOR™
MONITOR™ has one active view element for the display of image data, and 3 inactive value element for the display of sensor data. First of all, you should activate these value elements for your temperature, relative humidity, and humidity deficit data.
Go to MONITOR™, then open Elements menu
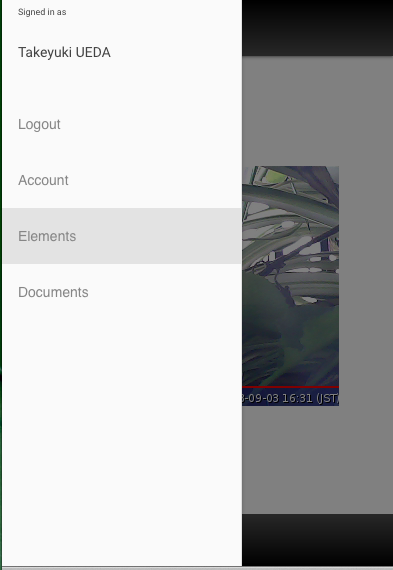
At first, only one View Element is active
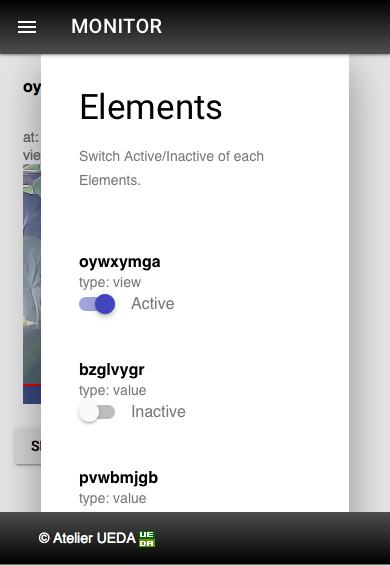
Change one of your Value Elements to Active and Save this setting.

Then, the blank Value Element will soon open.
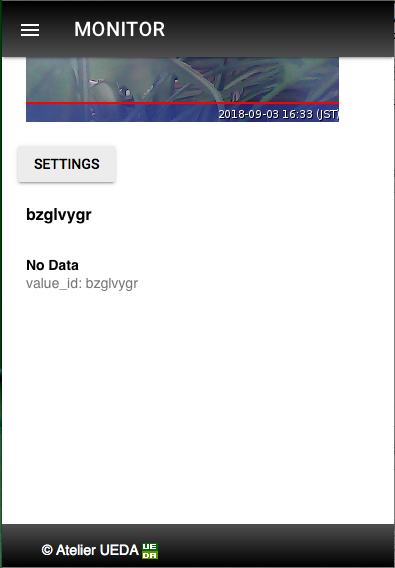
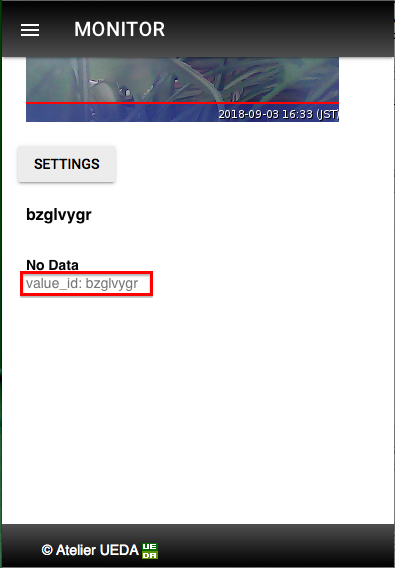
Keep these 3 of "value_id" to post the Sensor Data to this.
Install & setting dht22 software on your Raspberry Pi
Step 1. Install & setup View software in your Raspberry Pi.
The software is available as UedaTakeyuki/dht22.
On your RaspberryPi command line, You can download the latest release or git clone as follows:
You can get these value as follows:
For example, if you would relate as follows,
- value_id "nvxgvqwm" with temperature.
- value_id "zlpwjqga" with humidity.
- value_id "maxgdqwy" with humidity deficit.
the appropriate command is as follows:
The sensor values are calibrated and sent by the following command:
In case something wrong, response finished with {"ok":false,"reason":"XXX"}. For Example:
In case, you should make sure if the correct value_is was set by setid.sh command.
Temperature, Relative Humidity, and Humidity Deficit data to the MONITOR™ service at 5 minutes interval.
On your RaspberryPi command line, You can download the latest release or git clone as follows:
git clone https://github.com/UedaTakeyuki/dht22.gitcd dht22
./setup.sh Step 2. Get sensor data
The dht22 sensor support to get the ambient temperature and relative humidity, also the software can calculate the "humidity deficit" which indicate moreover how much water can be evaporated into the 1㎥ air.You can get these value as follows:
pi@raspberrypi:~/dht22 $ python -m dht22
{'humiditydeficit': '12.3', 'temp': 25.2, 'humidity': 47.1}
Step 3. Setup to send these values to the MONITOR™.
As mentioned above, the software "dht22" returns 3 values as:
- humiditydeficit
- temp
- humidity
The only need is to relate each of these to the "value_id" mentioned in the last section. You can do it by "setid.sh" command:
Usage: ./setid.sh [-t temp_id] [-h humidity_id] [-d humiditydeficit_id]
  [temp_id]:            value_id for temperature
  [humidity_id]:        value_id for humidity
[humiditydeficit_id]: value_id for humiditydeficit - value_id "nvxgvqwm" with temperature.
- value_id "zlpwjqga" with humidity.
- value_id "maxgdqwy" with humidity deficit.
the appropriate command is as follows:
./setid.sh -t nvxgvqwm -h zlpwjqga -d maxgdqwyThe sensor values are calibrated and sent by the following command:
python -m sensorhandler{'humiditydeficit': '12.2', 'temp': 25.2, 'humidity': 47.6}
temp
send
{"ok":true}
humidity
send
{"ok":false,"reason":"ViewID not valid"}
humiditydeficit
send
{"ok":true}In case something wrong, response finished with {"ok":false,"reason":"XXX"}. For Example:
{"ok":false,"reason":"ValueID not valid"}In case, you should make sure if the correct value_is was set by setid.sh command.
Step 4. setting for automatically read sensor values and send at 5 minutes interval.
You can do it both by setting crontab if you're used to do so, or you can use autostart.sh command as follow:
# set autostart on
./autostart.sh --on

# set autostart off
./autostart.sh --off
Temperature, Relative Humidity, and Humidity Deficit data to the MONITOR™ service at 5 minutes interval.


Comments
Post a Comment