How to make Human Detection Security camera with under 1$ Human Detection Senser, 2$ USB Webam & Raspberry Pi


and Raspberry Pi connected to the Internet,

You can make Web Base Security Camera System as follows:

PIR Sensor
There are many types of Human Detection Sensor, some of these watching infrared light rays and cache shutting out of this, or some these using Millimeter-wave radar.
PIR(Passive Infrared Ray) Sensor is one of these Human Detection Sensor which watches the change of thermal infrared emitted from hot objects like Humans, Birds, and Mammals.
The sensor consists of a lens for thermal infrared (white plastic tip in the picture below) and a detector device.

Both parts are inexpensive parts and a detector is low current consumption parts.
So, the advantage to use the PIR sensor for Human Detection is:
- Inexpensive
- Low current consumption
How to setup
Step 1. Get account of MONITOR™ and your view_id
On your Web browser, Sign up to MONITOR™, then you can see the following display.
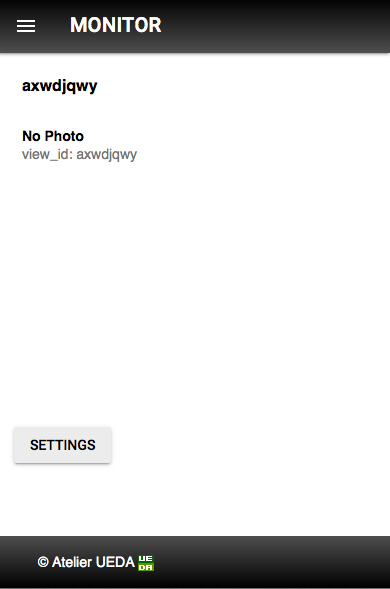
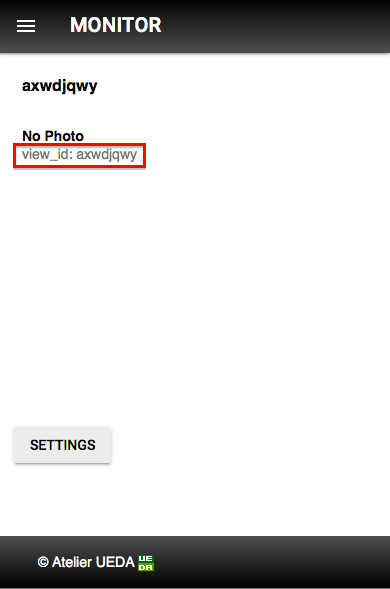
Keep the "view_id" shown in the display, you are setting your Raspberry Pi to take Camera Image & send it to the view.
Step 2. Install & setup View software in your Raspberry Pi.
The software is available here. Install & it on your Raspberry Pi as following the steps of 1,2,3,4, and 6 (without 5) here. Then PIR Sensor and WebCam are set up to take Image and send when someone is detected.
Please note that you should use the view_id which you get at the last step, as the parameter of setuid.sh command.
Step 3. Connect PIR Sensor to Raspberry Pi.

HC-SR501 has 3 of GPIO PIN for Vin, Signal, and GND. Connect each pin by Female to Female Jumper Cables as:
- Vin and RPi 5V
- Signal and RPi GPIO18(BCM)
- GND and GND
Please refer following pictures:
+-----+-----+---------+------+---+---Pi B+--+---+------+---------+-----+-----+
| BCM | wPi | Name | Mode | V | Physical | V | Mode | Name | wPi | BCM |
+-----+-----+---------+------+---+----++----+---+------+---------+-----+-----+
| | | 3.3v | | | 1 || 2 | | | 5v | | |
| 2 | 8 | SDA.1 | IN | 1 | 3 || 4 | | | 5v | | | --> to Vin
| 3 | 9 | SCL.1 | IN | 1 | 5 || 6 | | | 0v | | | --> to GND
| 4 | 7 | GPIO. 7 | IN | 1 | 7 || 8 | 1 | ALT0 | TxD | 15 | 14 |
| | | 0v | | | 9 || 10 | 1 | ALT0 | RxD | 16 | 15 |
| 17 | 0 | GPIO. 0 | IN | 0 | 11 || 12 | 0 | IN | GPIO. 1 | 1 | 18 | --> to Signal
| 27 | 2 | GPIO. 2 | IN | 0 | 13 || 14 | | | 0v | | |
| 22 | 3 | GPIO. 3 | IN | 0 | 15 || 16 | 0 | IN | GPIO. 4 | 4 | 23 |
| | | 3.3v | | | 17 || 18 | 0 | IN | GPIO. 5 | 5 | 24 |
| 10 | 12 | MOSI | IN | 0 | 19 || 20 | | | 0v | | |
| 9 | 13 | MISO | IN | 0 | 21 || 22 | 0 | IN | GPIO. 6 | 6 | 25 |
| 11 | 14 | SCLK | IN | 0 | 23 || 24 | 1 | IN | CE0 | 10 | 8 |
| | | 0v | | | 25 || 26 | 1 | IN | CE1 | 11 | 7 |
| 0 | 30 | SDA.0 | IN | 1 | 27 || 28 | 1 | IN | SCL.0 | 31 | 1 |
| 5 | 21 | GPIO.21 | IN | 1 | 29 || 30 | | | 0v | | |
| 6 | 22 | GPIO.22 | IN | 1 | 31 || 32 | 0 | IN | GPIO.26 | 26 | 12 |
| 13 | 23 | GPIO.23 | IN | 0 | 33 || 34 | | | 0v | | |
| 19 | 24 | GPIO.24 | IN | 0 | 35 || 36 | 0 | IN | GPIO.27 | 27 | 16 |
| 26 | 25 | GPIO.25 | IN | 0 | 37 || 38 | 0 | IN | GPIO.28 | 28 | 20 |
| | | 0v | | | 39 || 40 | 0 | IN | GPIO.29 | 29 | 21 |
+-----+-----+---------+------+---+----++----+---+------+---------+-----+-----+
| BCM | wPi | Name | Mode | V | Physical | V | Mode | Name | wPi | BCM |
+-----+-----+---------+------+---+---Pi B+--+---+------+---------+-----+-----+

In case, you can adjust sensitivity and duration by a rotary switch as follows:

Step 4. Set up your Raspberry Pi & webcam.
This webcam has a useful clip,

So you can set up these easily.

After Raspberry Pi power on, View software running on the Raspberrry Pi, send Camera Image to the MONITOR™ service at 5 minute interval.
On your Web Browser, MONITOR™ keeps refreshing the display with the latest Camera Image.

References
- Low-cost PIR sensor HC-SR501 from eBay
- Low-cost WebCam from eBay
- Female to Female Jumper Cable from eBay
- my Original Blog by Japanese written on 22th, Apr 2015.


Comments
Post a Comment