How to make Security camera with 2$ USB Webam & Beagle Bone Green
With 2$ USB Webcam,
and Beagle Bone Green connected to the Internet,
You can make Web Base Security Camera System as follows:
According to the BeagleBone Green System Reference Manual section 5.7 USB1 Host Port, the BBG's USB port can provide up to 500mA of current at 5V. It's enough power of the current to share USB WebCam and USB WiFi dongle by USB Hub.
For your reference, the following are parts list which I'm using.
- High-Speed 4-Port USB 3.0 Multi HUB Splitter
price about 4$ from eBay - HOT 150Mbps 150M Mini USB WiFi Wireless Adapter
price about 2$ from eBay - Mini Stylish USB 2.0 5M Meter Retractable Clip WebCam Web Camera
price about 3$ from eBay
The following steps are completely the same as How to make a Security camera with 2$ USB Webcam & Beagle Bone Green.
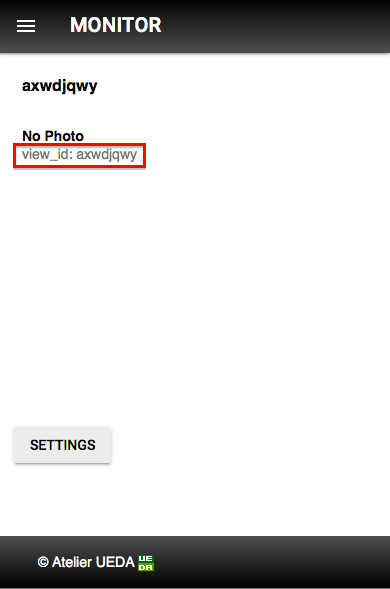
Step 1. Get account of MONITOR™ and your view_id
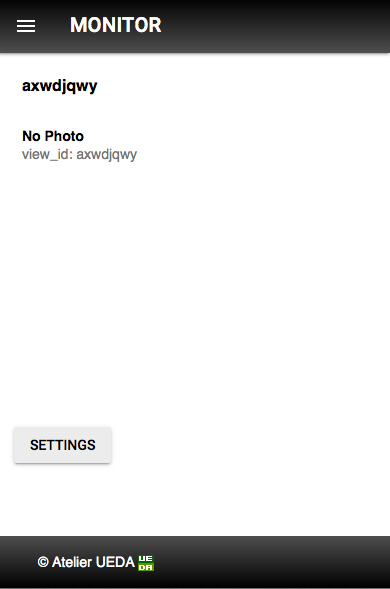
On your Web browser, Sign up to MONITOR™, then you can see the following display.
Keep the "view_id" shown in the display, you are setting your Raspberry Pi to take Camera Image & send it to the view.
Step 2. Install & setup View software in your Beagle Bone Green.
The software is available here. Install & it on your Beagle Bone Green by following steps here.
Please note that you should use the view_id which you get at the last step, as the parameter of setuid.sh command.
Step 3. Setup your Beagle Bone Green & webcam.
This webcam has a useful clip,
So you can set up these easily.
After Raspberry Pi power on, View software running on the Beagle Bone Green, send Camera Image to the MONITOR™ service at 5 minute interval.
On your Web Browser, MONITOR™ keep refreshing the display with the latest Camera Image.


Comments
Post a Comment