How to make Security camera with 2$ USB Webam & Raspberry Pi
With 2$ USB Webcam,

and Raspberry Pi connected to the Internet,

You can make Web Base Security Camera System as follows:

Step 1. Get account of MONITOR™ and your view_id
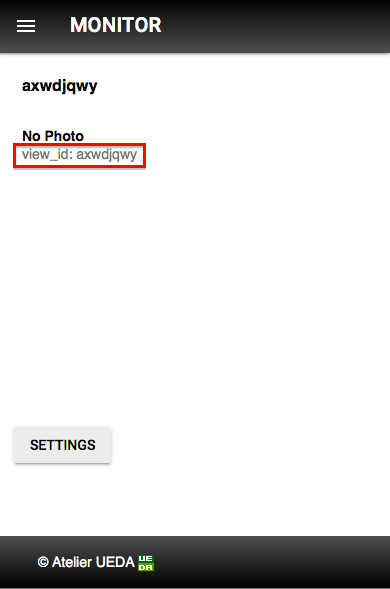
On your Web browser, Sign up to MONITOR™, then you can see the following display.
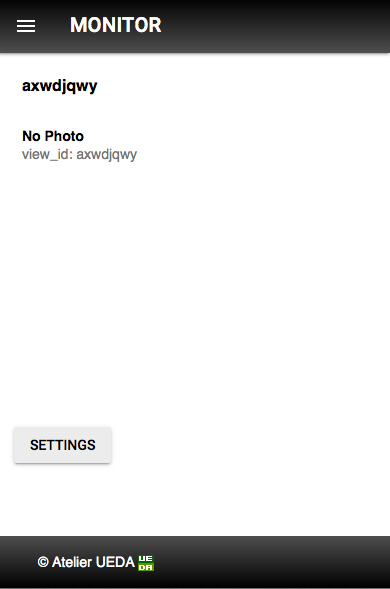
Keep the "view_id" shown in the display, you are setting your Raspberry Pi to take Camera Image & send it to the view.
Step 2. Set up your Raspberry Pi & webcam.
This webcam has a useful clip,

So you can set up these easily.

Step 3. Install & setup View software in your Raspberry Pi.
The software for handling webcam to take a photo and send it is available here.
On your RaspberryPi command line, You can download the latest release or git clone as follows:
Then, go into this directory and call setup.sh command as follows:
For example, in case your view_id is "axwdjqwy", set it as follows:
On your RaspberryPi command line, You can download the latest release or git clone as follows:
git clone https://github.com/UedaTakeyuki/view2.gitThen, go into this directory and call setup.sh command as follows:
cd view2
./setup.sh For example, in case your view_id is "axwdjqwy", set it as follows:
./setid.sh axwdjqwyStep 4. Take a photo & send it to the MONITOR™.
After view_id was set, you can take & send a photo as follow:
python -m pondslider
ou may see following sequence of log.
{'photo': '/tmp/20190625210920.jpg'}
start handle
end handle
call value handler
start terminate
end terminate
By Web Browser, you can see the MONITOR™ display is updated by your taken & sent photo.

Step 5. setting for automatically run view.sh at 5 minutes interval
You can set that view.sh is called repeatedly at a 5 minutes interval after the device is turned on by autostart.sh command as follows:# set autostart on
./autostart.sh --on
# set autostart off
./autostart.sh --offTechnically speaking, autostart.sh set timer service of systemctl for view.sh. In case you are familiar with crontab, it's OK to set view.sh on the cron yourself instead of using autostart command.
You can confirm the current status with --status option:
./autostart.sh --statusYou may see the following sequence:
./autostart.sh --status
● view2.service - Take photos & Post to the monitor
   Loaded: loaded (/home/pi/SCRIPT/view2/view2.service; enabled; vendor preset: enabled)
   Active: active (running) since Tue 2019-06-25 21:13:00 JST; 8s ago
 Main PID: 830 (sudo)
   CGroup: /system.slice/view2.service
           ├─830 /usr/bin/sudo /usr/bin/python -m pondslider --interval 5
           ├─837 /usr/bin/python -m pondslider --interval 5
           ├─838 /bin/sh -c fswebcam /tmp/20190625211306.jpg -d /dev/video0 -D 1 -S 20 -r 320x240
           └─839 fswebcam /tmp/20190625211306.jpg -d /dev/video0 -D 1 -S 20 -r 320x240

Jun 25 21:13:00 raspberrypi systemd[1]: Started Take photos & Post to the monitor.
Jun 25 21:13:00 raspberrypi sudo[830]:     root : TTY=unknown ; PWD=/home/pi/SCRIPT/view2 ; USER=root ; COMMAND=/usr/bin/pytho
Jun 25 21:13:00 raspberrypi sudo[830]: pam_unix(sudo:session): session opened for user root by (uid=0)
In case of service set as off, you can see followings:
Unit view2.service could not be found.


Comments
Post a Comment